
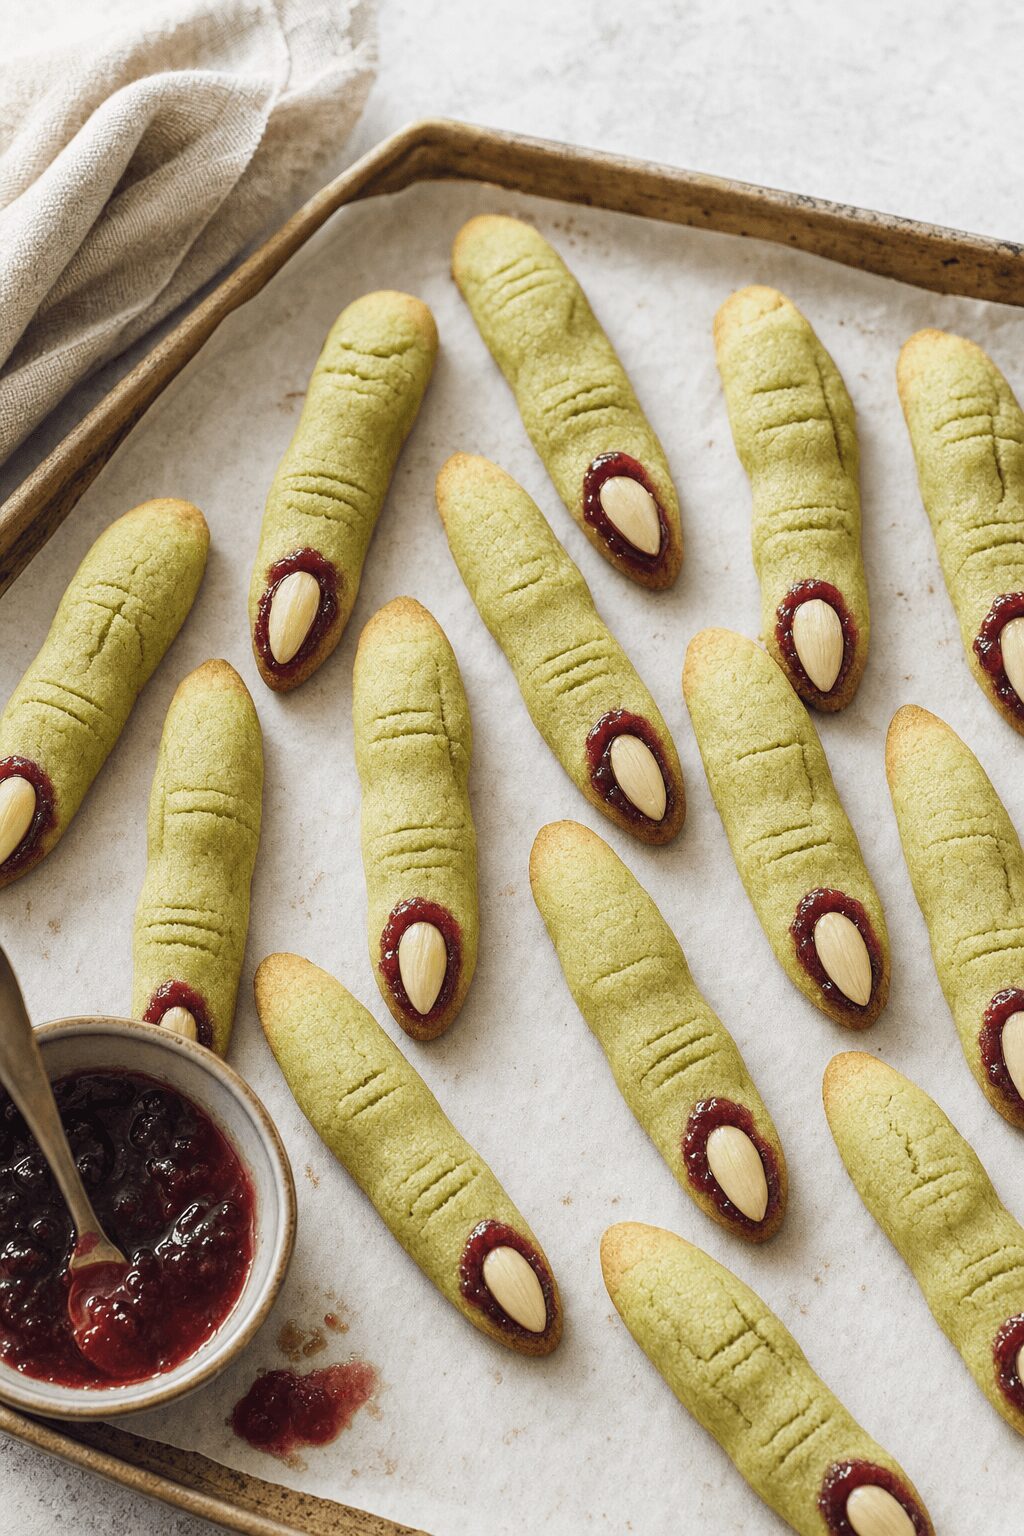
Witch Finger Sugar Cookies are basically a simple butter-and-sugar cookie dough shaped into gnarly little fingers, topped with almond “nails,” and finished with jam so they look… questionably realistic.
They’re not hard, but they do ask for one thing: you have to keep the dough cool so the fingers don’t spread into sad green blobs. If you’re making these on a weeknight with kids orbiting the kitchen, mix the dough after dinner, chill it, and do the shaping the next day in 20-minute bursts. I learned that the hard way after trying to shape warm dough next to a running dishwasher.
Ingredients
Makes about 18–22 cookies (2–4 people, with leftovers).
- 113 g (1/2 cup / 1 stick) unsalted butter, room temp — flavor + structure; butter that’s too soft makes fingers spread
- 200 g (1 cup) granulated sugar — classic sugar-cookie sweetness and crisp edges
- 1 large egg, room temp — binds the dough so it rolls without cracking
- 5 ml (1 tsp) pure vanilla extract — don’t skip; it’s the whole personality here
- 260 g (2 cups + 2 Tbsp) all-purpose flour — measured by spoon-and-level if you’re using cups
- 2 g (1/2 tsp) baking powder — a little lift so they’re not rock-hard
- 1 g (1/4 tsp) fine salt — makes them taste like cookies, not sweet paste
- 18–22 large sliced almonds — fingernails (whole blanched almonds work too, but sliced are easier to bite)
- 80 g (about 1/4 cup) raspberry jam — for the “blood” (strawberry also works)
- Optional: green gel food coloring (a few drops) — purely for looks If you skip it, they’re still creepy—just more “pale and unwell” than witchy.
Nut-free option: Swap the almond nails for pumpkin seeds or sunflower seeds. The look changes, but it still reads “Halloween.”
Step-by-Step Witch Finger Sugar Cookies
-
Prep the oven and pan. Heat the oven to 165°C (325°F). Line a baking sheet with parchment (or a silicone mat). If you’re using a dark sheet pan, expect slightly more browning on the bottoms.
-
Mix the dry ingredients. In a medium bowl, whisk together the flour, baking powder, and salt.
-
Cream butter and sugar. In a large bowl (hand mixer) or stand mixer, beat the butter and sugar until lighter in color and fluffy, about 2–3 minutes. Scrape the bowl once; it matters here because dense butter pockets lead to uneven spreading.
-
Add egg + vanilla (and color, if using). Beat in the egg until smooth, then add vanilla. If you want green fingers, add a couple drops of green gel food coloring now.
-
Bring the dough together. Add the dry ingredients and mix on low just until you don’t see dry flour. The dough should be soft but not sticky.
-
Chill the dough. Cover and refrigerate 30–45 minutes.
One thing — if your kitchen runs warm, go the full 45 minutes. These cookies are all about shape, and warm dough is the enemy.
-
Shape the fingers. Scoop about 1 1/2 Tbsp dough per cookie. Roll into a log about 12–13 cm (5 in) long and roughly 1.25 cm (1/2 in) thick. Taper one end slightly (that’s the fingertip).
-
Add the almond nail. Press a sliced almond into the tapered end.
Tip: If the almond keeps popping off, press it in firmly now, then after baking you can reinforce with a dab of warm jam.
-
Make knuckles (don’t overdo it). Use a paring knife to make 2–3 shallow horizontal cuts around the middle. Pinch the dough gently on either side of the cuts to puff up the “knuckle.” You’re going for suggestion, not sculpture.
-
Bake. Arrange fingers about 2.5 cm (1 in) apart. Bake until lightly golden at the edges, 16–18 minutes.
Heads up: If they look pale at 16 minutes but the bottoms are already browned, your pan runs hot. Pull them anyway—overbaked witch fingers taste like bland biscotti.
-
Cool completely. Let them sit on the tray for 5 minutes, then move to a rack. You need them fully cool before adding jam or you’ll get a glossy, sticky mess.
-
Add the “blood.” Warm the jam in a small saucepan over low heat for about 1–2 minutes, just until it loosens. Either:
- Dip the blunt end of each cookie in jam, or
- Dab a little jam around the almond nail so it looks like it’s oozing.
I’m opinionated on this: the “around the nail” look is creepier, but dipping the blunt end is faster if you’re doing this with kids.
What to Expect
They’ll bake up like a crisp-edged sugar cookie with a tender center—more sturdy than chewy. The almond gives a nice crunch, and the jam adds a fruity hit (and, yes, stickiness). If you make them thicker, you’ll get softer centers; thinner fingers bake crisper and look a little more realistic.
Ways to Change It Up
-
Want them less sweet? You can reduce the jam effect by warming it less and applying a thinner smear. The cookie base itself is a classic sugar-cookie level of sweet.
-
Dairy-free: Use a plant butter stick that’s made for baking. It works, but the dough softens faster, so you’ll likely need longer chilling and maybe a mid-shaping fridge break.
-
Different vibe: swap vanilla for 1/2 tsp almond extract plus 1/2 tsp vanilla. Almond-forward fingers taste like holiday cookies (in a good way), which is funny next to the gross-out look.
Serving and Storage
Serve these on a dark platter with a little extra jam streaked on the plate if you’re leaning into the gore. For a kid-friendlier spread, keep the jam minimal and add candy eyes nearby (not on the cookies—they fall off).
Storage: keep in an airtight container at room temp for 3–4 days. If you added a lot of jam, separate layers with parchment so they don’t glue themselves together.
Make-ahead: you can refrigerate the dough up to 2 days. Shaped, unbaked fingers can also be chilled on the sheet pan for 30 minutes before baking, which helps with spread.
Freezing: freeze baked cookies (without jam) for up to 2 months. Thaw at room temp, then add warm jam right before serving.
Common Questions
Why did my fingers spread and lose the shape?
Your dough was too warm or your butter was too soft. Chill the dough longer, and if you’re shaping a big batch, keep half the dough in the fridge while you work. Also, don’t grease the pan—parchment is enough.
Can I use store-bought sugar cookie dough?
You can, but it tends to spread more. If you try it anyway, chill shaped fingers until firm and bake a single test cookie first. If it puddles, you’ll know before you’ve committed the whole tray.
Do I have to use food coloring?
Nope. The “finger” shape sells the idea. If you skip coloring, use a darker jam (raspberry or cherry) so the details pop.
What can I use instead of almonds for the nails?
Pumpkin seeds work well and are easy to press in. Sunflower seeds are fine too. If you’re dealing with nut allergies, be careful with cross-contact—almonds leave crumbs everywhere.
Can I make these ahead for a party?
Yes. Bake the cookies the day before and add the jam a few hours before serving. Jam overnight can turn the container into a sticky situation.
To add a little context to the Halloween side of all this (and why witches are such a fixture), I like these reads: History.com’s overview of Halloween’s origins and Smithsonian’s piece on how trick-or-treating evolved over time.
If you make these, take a second to notice which step you enjoy more: shaping the knuckles, or doing the jam “blood.” I’m firmly team jam—and I’m curious if you end up the same.
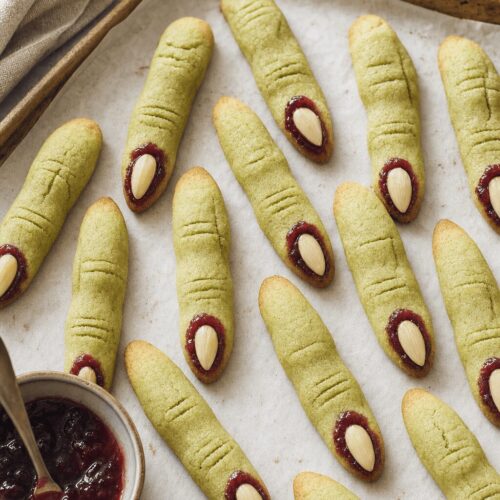
Witch Finger Sugar Cookies That Look Creepy, Bake Easy

Equipment
- Baking sheet
- Parchment paper (or silicone baking mat)
- Medium mixing bowl
- Whisk
- Large mixing bowl
- Hand mixer or stand mixer
- Paring knife
- Wire rack
- Small saucepan
Ingredients
- 113 g unsalted butter room temperature (1/2 cup / 1 stick)
- 200 g granulated sugar (1 cup)
- 1 large egg room temperature
- 1 tsp pure vanilla extract (5 ml)
- 260 g all-purpose flour (2 cups + 2 Tbsp)
- 1/2 tsp baking powder (2 g)
- 1/4 tsp fine salt (1 g)
- 18–22 large sliced almonds for fingernails
- 80 g raspberry jam for the “blood” (about 1/4 cup; strawberry also works)
- green gel food coloring optional, a few drops
Instructions
- Heat the oven to 165°C (325°F). Line a baking sheet with parchment (or a silicone mat).
- In a medium bowl, whisk together the flour, baking powder, and salt.
- In a large bowl with a hand mixer (or a stand mixer), beat the butter and sugar until lighter in color and fluffy, about 2–3 minutes. Scrape down the bowl.
- Beat in the egg until smooth, then add the vanilla. If using, add a couple drops of green gel food coloring.
- Add the dry ingredients and mix on low just until no dry flour remains. The dough should be soft but not sticky.
- Cover and refrigerate the dough for 30–45 minutes.
- Scoop about 1 1/2 Tbsp dough per cookie. Roll into a log about 12–13 cm (5 in) long and roughly 1.25 cm (1/2 in) thick, tapering one end slightly for the fingertip.
- Press a sliced almond into the tapered end to make the nail.
- Use a paring knife to make 2–3 shallow horizontal cuts around the middle for knuckles. Pinch gently on either side of the cuts to puff up the “knuckle.”
- Arrange cookies about 2.5 cm (1 in) apart. Bake 16–18 minutes, until lightly golden at the edges.
- Cool on the tray 5 minutes, then transfer to a rack and cool completely before adding jam.
- Warm the jam in a small saucepan over low heat for 1–2 minutes until loosened. Dip the blunt end of each cookie in jam, or dab jam around the almond nail to look like it’s oozing.



Leave a Reply