
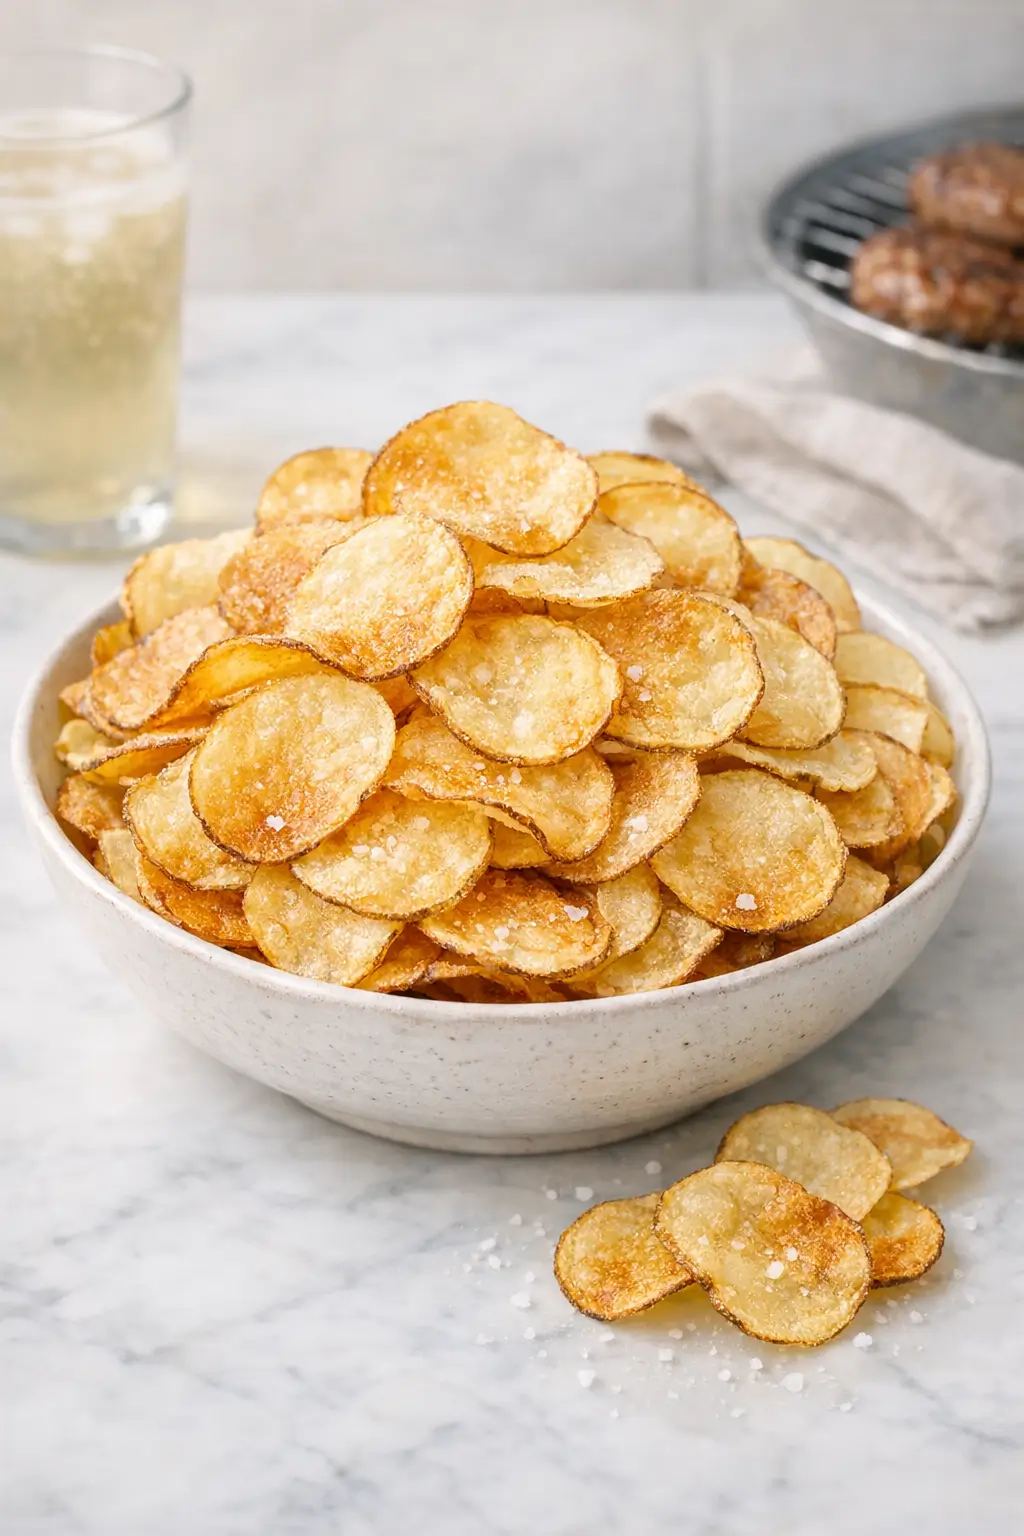
A bowl of warm homemade potato chips on the patio feels much more relaxed than setting out another bag from the store. Homemade potato chips deliver that crisp, salty crunch with just a few ingredients, and they hold up well next to burgers, hot dogs, and anything off the grill. This version keeps the method streamlined so you can actually pull it off on a busy afternoon.
If you’re juggling kids or guests, start by rinsing and soaking the sliced potatoes first—that quiet 30 minutes in cold water buys you breathing room later. Once you begin frying, stay by the pot and work in small batches for even color and crunch. Homemade potato chips are straightforward, but the oil temperature and slice thickness really decide how crisp they turn out.
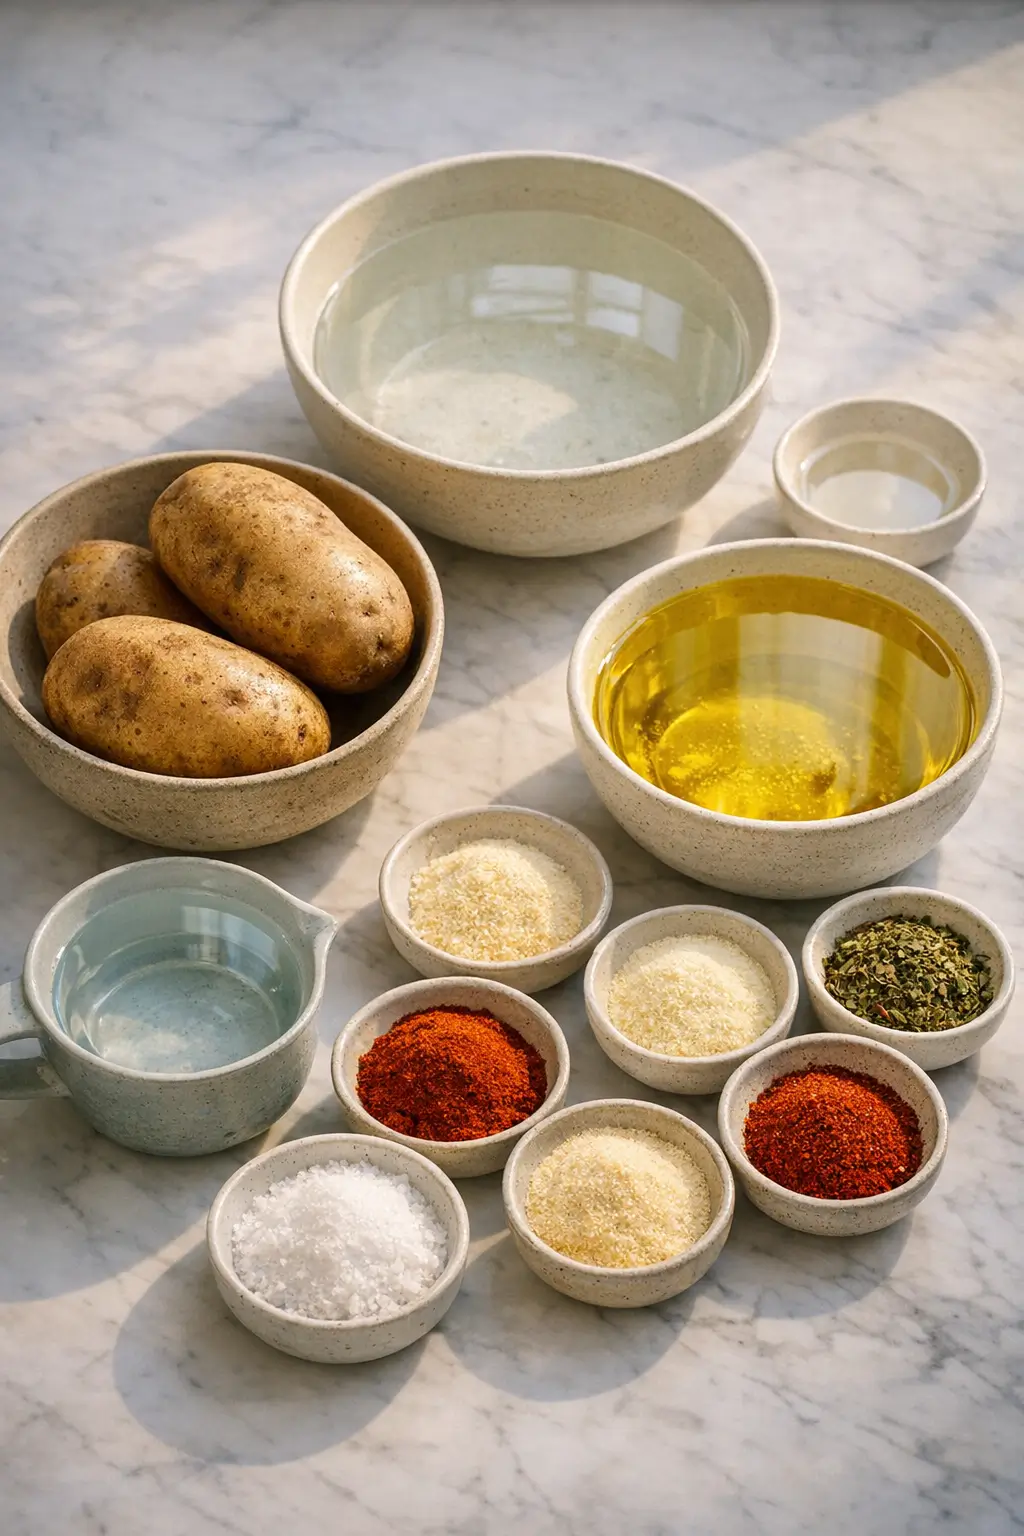
Ingredients
Makes enough for 3–4 people as a snack
For the chips
- 600 g / 1.3 lb (about 3 medium) russet potatoes, scrubbed, unpeeled or peeled as you prefer – high starch gives a crisp chip citeturn0search1turn0search10
- 2 L / 2 quarts neutral frying oil (peanut, canola, or vegetable oil) – neutral flavor and high smoke point citeturn0search1turn0search10
- 1–1 ½ tsp fine sea salt, plus more to taste – seasons the chips while hot so it adheres well citeturn0search1turn0search10
Optional seasoning ideas (choose 1–2)
- ½ tsp smoked paprika – adds light smokiness
- ½ tsp garlic powder – for a savory note
- ½ tsp onion powder – boosts savoriness
- ¼–½ tsp chili powder or cayenne – for heat
- 1–2 tsp dried herbs (oregano, thyme, or rosemary, finely crumbled) – sprinkle lightly right after frying
Soaking water
- 1.5 L / 6 cups cold water – for soaking the sliced potatoes
- 2 tbsp white vinegar (optional) – helps rinse surface starch and can improve crispness citeturn0search2turn0search32
Kitchen note: If you only have waxy potatoes (like red or Yukon gold), the chips can still be tasty but may cook a little more unevenly and brown faster. Reduce frying time slightly and pull them as soon as they turn golden.
Step-by-Step Instructions for Homemade Potato Chips
-
Set up your soaking station.
Fill a large bowl with the cold water. If using, stir in the vinegar. Keep this by your cutting board. Line a sheet pan or large tray with a clean kitchen towel or several layers of paper towel for drying later.
-
Slice the potatoes very thinly.
Using a mandoline on the thinnest setting (about 1–1.5 mm / 1⁄16 inch), slice the potatoes into rounds. As you slice, drop each batch directly into the bowl of cold water so they’re fully submerged. This prevents browning and starts washing away excess starch, which is key for a crisp chip. citeturn0search1turn0search10turn0search31
-
Rinse and soak to remove starch.
Once all the potatoes are sliced, swirl them gently in the water with your hands, then pour off the cloudy water and refill with fresh cold water. Repeat until the water is noticeably clearer. Leave the slices to soak for 20–30 minutes. This step keeps the chips from sticking together and helps them fry up crisper. citeturn0search1turn0search10turn0search31
-
Dry the potatoes thoroughly.
Drain the soaked slices in a colander, then spread them out in a single layer on the prepared towel-lined tray. Pat the tops dry with more towel, gently pressing to draw out surface moisture. Aim for the slices to feel barely damp, not wet. Any water left on the potatoes will cause the oil to spatter and can make the chips tough instead of crisp.
Kitchen note: Take your time drying. If the slices are stacked while still wet, the trapped moisture will steam in the oil and you’ll get blistered, chewy spots instead of even crunch.
-
Preheat the oil.
Pour the oil into a heavy, deep pot or Dutch oven, leaving at least 5–7.5 cm / 2–3 inches of space from the top for safety. Set over medium heat and bring the oil to 180–190°C / 355–375°F. A thermometer is ideal here; otherwise, test with one potato slice—it should bubble steadily but not violently when it hits the oil. citeturn0search1turn0search10
-
Fry in small batches.
Carefully add a small handful of potato slices to the hot oil, spreading them out with a spider or slotted spoon so they don’t clump. The temperature will drop slightly; adjust the heat to keep a gentle but constant sizzle. Fry for 3–5 minutes, stirring occasionally, until the chips are light golden and the bubbling has noticeably slowed. Different stoves and pots hold heat differently, so rely on color and sound as much as the clock. citeturn0search1turn0search10
-
Drain and season immediately.
Use the spider to lift the chips onto a paper towel–lined baking sheet in a single layer. While they are still hot, sprinkle with salt and any additional seasonings you like. Hot oil on the surface helps the seasoning stick; if you wait, much of it will fall off.
Kitchen note: Chips will darken slightly as they sit. Pull them a shade lighter than your ideal color, especially if you’re working outside in bright sun where the color can look paler in the pot than it really is.
-
Repeat with remaining potatoes.
Allow the oil to return to 180–190°C / 355–375°F between batches. If the oil feels too hot (chips brown almost instantly), lower the heat and give the pot a minute to cool. Discard any small burnt bits with a slotted spoon so they don’t tint the next round. Taste the first batch and adjust the salt level as you go.
-
Hold warm for serving.
If you’re preparing chips ahead of guests arriving, transfer finished chips to a wire rack set over a sheet pan and keep them in a low oven (90–95°C / 195–205°F) for up to 30 minutes. Leave them uncovered so they stay dry instead of steaming.
-
Take the chips outside.
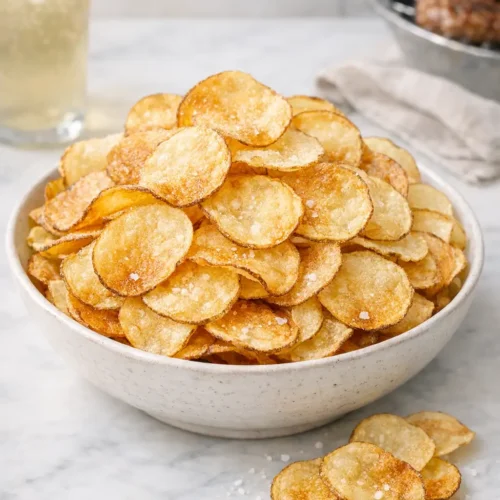
Pile the homemade potato chips in a wide bowl for the backyard table. If you’ve made a couple of seasoning variations, keep them in separate bowls or on separate sections of a tray so people can see the differences.
What to Expect
These homemade potato chips come out thin, shatteringly crisp at the edges, and a bit sturdier toward the center. They’re not engineered to be identical like a commercial chip, so expect slight variations in curl, color, and thickness.
The flavor leans toward clean potato and salt, with whatever seasoning you add riding along in the background. Using peanut or canola oil keeps the focus on the potato itself rather than a heavy fried flavor.
Different pots and stovetops will change how quickly the chips brown. A heavy Dutch oven holds heat better and gives a more even color, while a thinner pot may create hot spots, which can lead to a few darker chips in each batch. Slightly thicker slices will feel more “kettle-style” and extra crunchy, while ultra-thin slices fry up lighter and more delicate.
Kitchen note: If your first batch tastes a bit oily, your oil was likely too cool or the pot was overcrowded. Increase the heat slightly and reduce the batch size until the chips come out crisp and clean-tasting.
Ways to Change It Up
1. Simple herbed potato chips
Right after frying, toss the hot chips with a mixture of fine salt, dried oregano, and a pinch of garlic powder. This works especially well for a backyard spread with grilled chicken or skewers, since the herb flavor echoes many marinades.
You can also finish the chips with very finely chopped fresh herbs like rosemary or parsley, but add them just as the chips come out of the oil so the residual heat helps the herbs stick.
2. Mild, kid-friendly seasoning
For younger or spice-averse eaters, keep the seasoning to salt plus a little onion powder. The flavor is familiar and gentle but still more interesting than plain salt. Serve these alongside a simple dip like sour cream mixed with chives.
If you’re hosting and expect a mix of preferences, season half the batch simply and divide the rest between one or two bolder seasoning blends.
3. Spicier backyard chips
To make a spicy version, combine salt, smoked paprika, and a measured pinch of cayenne or chili powder, then sprinkle it over the chips as soon as they’re out of the oil. The smoky heat plays nicely with anything cooked over charcoal.
For more control, you can set the spicy seasoning in a small bowl on the side and let guests dust their own portion to taste.
4. Oven or air fryer shortcut
If deep frying is not an option, you can approximate homemade potato chips in the oven or air fryer. Brush or spray the dried slices lightly with oil, arrange them in a single layer, and cook at around 200°C / 400°F, flipping once, until golden and crisp.
The texture will usually be slightly drier and less evenly crisp than fried chips, but the method is lower-mess and easier to manage in a small kitchen.
Kitchen note: For oven or air fryer chips, go even thinner on the slicing and keep a close eye near the end of cooking—once they start to brown, they can jump from pale to burnt in a minute.
5. Vegan and dairy-free options
The base recipe is already naturally vegan and dairy-free as long as your chosen seasonings are, too. Avoid cheese powders or seasoning blends that contain milk solids if you need to keep the snack fully plant-based.
Pair with a dairy-free dip, such as hummus or a tahini-lemon sauce, for a complete vegan-friendly backyard snack plate.
Serving and Storage
Homemade potato chips are at their best within the first hour after frying, when the texture is light, crisp, and almost flaky. Serve them in a wide, shallow bowl so they don’t steam under their own heat.
For a backyard setup, pair them with sandwiches, grilled meats, or skewers. They also sit nicely alongside dips like onion dip, salsa, or guacamole without going soggy too fast, as long as people don’t pre-load a big pile with wet toppings.
If you need to make the chips earlier in the day, cool them completely in a single layer, then store at room temperature in an airtight container or zip-top bag. They stay reasonably crisp for 1–2 days, though the first day is noticeably better.
To refresh slightly stale chips, spread them on a baking sheet and warm them at 150°C / 300°F for 5–8 minutes, then let them cool again before serving.
Cultural Context
Potato chips, sometimes called crisps in parts of the world, have become a common snack across many countries, including the United States, where bowlfuls of chips often appear at barbecues, picnics, and backyard gatherings. The modern commercial potato chip industry developed through the 20th century, with brands experimenting with different frying methods and seasonings.
Kettle-cooked chips, which are fried in small batches in oil rather than on a continuous conveyor, gained particular popularity for their crisper, more rustic texture. Several regional chip companies in North America, such as those behind Miss Vickie’s and Zapp’s, built their reputation on this style and helped shape current expectations of crunch and flavor. citeturn0search12turn0search13
For more context on how these styles emerged and spread, you can explore the brief histories of brands like Miss Vickie’s kettle-cooked chips and Zapp’s regional potato chips, which highlight how a simple fried potato slice became a widely varied global snack.
Common Questions and Troubleshooting
Why are my homemade potato chips bending instead of snapping?
Chips that bend or feel chewy instead of crisp usually didn’t lose enough moisture. Common causes are slicing too thick, not soaking and drying thoroughly, or frying at too low a temperature. Aim for very thin slices, make sure they’re dry to the touch before they go into the oil, and keep the oil within the 180–190°C / 355–375°F range.
My chips are turning dark but still taste a bit raw in the middle. What’s happening?
This often means the oil is too hot, so the outside browns before the inside cooks through. Lower the heat slightly, give the pot a few minutes to cool, and fry the next batch longer at a steadier, gentler bubble.
Can I use a different type of potato?
Yes. Russet potatoes give the most familiar chip texture, but Yukon gold or similar varieties can work. They may brown more quickly and have a slightly creamier center. Adjust your frying time and pull a test chip to taste before finishing the batch.
Is it necessary to peel the potatoes?
No. Leaving the skin on adds a bit of texture and a more rustic look. Just scrub the potatoes well to remove any dirt. If you prefer a very uniform, pale chip, peeling is the better choice.
How do I keep the oil from splattering too much?
Dry slices thoroughly before frying, add them gently to the oil instead of dropping them from a height, and avoid overfilling the pot. Using a deep, heavy pot also helps contain stray splashes.
Can I reuse the frying oil?
You can, as long as it hasn’t been overheated or contaminated with burnt bits. Let the oil cool completely, then strain it through a fine mesh sieve or cheesecloth into a clean container. Store in a cool, dark place and reuse for another batch of fries or chips within a week or two.
Conclusion
Homemade potato chips don’t require special equipment beyond a steady pot, a way to slice thinly, and enough attention to keep the oil at a good temperature. Once you’ve made a few batches, it becomes a reliable, low-effort addition to any backyard table.
If you try this version for your next cookout or casual snack night, share how it went in the comments—especially any seasoning twists or serving ideas that worked well for you. Your notes help other home cooks adjust the method to their own stove, schedule, and crowd.
Homemade Potato Chips for Easy Backyard Snacking
Equipment
- Mandoline slicer
- Large bowl
- Colander
- Sheet pan or large tray
- Clean kitchen towel or paper towels
- Heavy deep pot or Dutch oven
- Thermometer
- Spider strainer or slotted spoon
- Wire rack (optional)
Ingredients
For the chips
- 600 g russet potatoes about 3 medium, scrubbed; unpeeled or peeled as you prefer
- 2 L neutral frying oil peanut, canola, or vegetable oil
- 1–1 1/2 tsp fine sea salt plus more to taste
Optional seasoning ideas (choose 1–2)
- 1/2 tsp smoked paprika optional
- 1/2 tsp garlic powder optional
- 1/2 tsp onion powder optional
- 1/4–1/2 tsp chili powder or cayenne optional
- 1–2 tsp dried herbs (oregano, thyme, or rosemary) optional; finely crumbled
Soaking water
- 1.5 L cold water for soaking the sliced potatoes
- 2 tbsp white vinegar optional
Instructions
- Set up your soaking station: Fill a large bowl with the cold water. If using, stir in the vinegar. Keep this by your cutting board. Line a sheet pan or large tray with a clean kitchen towel or several layers of paper towel for drying later.
- Slice the potatoes very thinly: Using a mandoline on the thinnest setting (about 1–1.5 mm / 1⁄16 inch), slice the potatoes into rounds. As you slice, drop each batch directly into the bowl of cold water so they’re fully submerged.
- Rinse and soak to remove starch: Swirl the slices, pour off the cloudy water, and refill with fresh cold water until noticeably clearer. Leave the slices to soak for 20–30 minutes.
- Dry the potatoes thoroughly: Drain in a colander, spread in a single layer on the towel-lined tray, and pat very dry. Aim for slices that feel barely damp, not wet.
- Preheat the oil: Pour oil into a heavy, deep pot or Dutch oven, leaving 2–3 inches (5–7.5 cm) headspace. Heat to 180–190°C / 355–375°F (use a thermometer if possible).
- Fry in small batches: Add a small handful of slices, spread them so they don’t clump, and keep a steady gentle sizzle. Fry 3–5 minutes, stirring occasionally, until light golden and bubbling slows.
- Drain and season immediately: Lift chips onto a paper towel–lined baking sheet in a single layer. While still hot, sprinkle with salt and any seasonings you like.
- Repeat with remaining potatoes: Let oil return to 180–190°C / 355–375°F between batches. Skim out burnt bits and adjust salt as you go.
- Hold warm for serving (optional): Transfer chips to a wire rack over a sheet pan and keep in a low oven (90–95°C / 195–205°F) for up to 30 minutes, uncovered.
- Serve: Pile the homemade potato chips in a wide bowl for the backyard table (keep seasoning variations in separate bowls if desired).
Leave a Reply